

Hey there, fellow DIYers and garage enthusiasts! I'm here as a supplier of Garage Shot Blasters to share some tips on the best way to blast plastic parts without causing damage.

First off, let's talk about why you might want to blast plastic parts. Maybe you're looking to clean them up, remove some old paint or coatings, or prepare the surface for a new finish. Whatever the reason, using a shot blaster can be a great solution, but you've got to do it right to avoid ruining your precious plastic pieces.
Understanding Your Plastic Parts
Before you even think about firing up your shot blaster, you need to know what kind of plastic you're dealing with. Different plastics have different properties, and some are more delicate than others. For example, polycarbonate is relatively tough and can withstand a bit more force, while polystyrene is much more brittle and prone to cracking.
You also need to consider the shape and size of your plastic parts. Complex shapes with lots of nooks and crannies might require a more gentle approach to ensure that the blasting media doesn't get stuck or cause damage in hard-to-reach areas. Smaller parts might be more easily damaged by the impact of the blasting media, so you'll need to be extra careful.
Choosing the Right Blasting Media
The type of blasting media you use is crucial when it comes to blasting plastic parts without causing damage. You want something that's abrasive enough to do the job but not so aggressive that it'll scratch or crack the plastic.
One popular option is plastic media. Plastic media is made from a variety of materials, such as nylon, polyester, or acrylic, and comes in different shapes and sizes. It's relatively soft compared to other blasting media, like sand or glass beads, and is less likely to cause damage to plastic parts.
Another option is walnut shells. Walnut shells are a natural and biodegradable blasting media that's gentle enough for most plastics. They're also relatively inexpensive and easy to find.
Avoid using abrasive media like sand, steel shot, or glass beads on plastic parts. These media are too aggressive and can cause significant damage, including scratching, cracking, and warping.
Adjusting the Blasting Pressure
The blasting pressure is another important factor to consider when blasting plastic parts. You want to use the lowest pressure possible that still allows you to achieve the desired results.
Most garage shot blasters have an adjustable pressure setting, so you can experiment with different pressures to find the right one for your plastic parts. Start with a low pressure, around 10-20 psi, and gradually increase it if needed. Keep in mind that higher pressures can increase the risk of damage, so be careful not to go too high.
Controlling the Blasting Distance
The distance between the blasting nozzle and the plastic part also affects the amount of force and abrasion applied to the surface. You want to keep the blasting distance relatively close to the part to ensure that the blasting media has enough force to do the job but not so close that it causes damage.
A good rule of thumb is to keep the blasting distance between 4-6 inches. This will give you a good balance between force and control. You can also experiment with different distances to find the one that works best for your specific parts and blasting media.
Using a Masking Technique
If you have areas of your plastic parts that you don't want to blast, you can use a masking technique to protect them. Masking tape, rubber plugs, or custom-made masks can all be used to cover the areas that you want to keep clean.
Make sure to apply the masking material carefully and securely to prevent the blasting media from getting under it. You can also use a primer or paint to create a barrier between the plastic and the blasting media, which can help to reduce the risk of damage.
Testing on a Small Area
Before you start blasting your entire plastic part, it's always a good idea to test the blasting process on a small, inconspicuous area first. This will allow you to see how the plastic reacts to the blasting media and pressure and make any necessary adjustments before you commit to the whole part.
If the test area looks good and there's no damage, you can proceed with blasting the rest of the part. If you notice any signs of damage, such as scratching, cracking, or warping, you'll need to adjust the blasting parameters or try a different blasting media.
Our Garage Shot Blasters
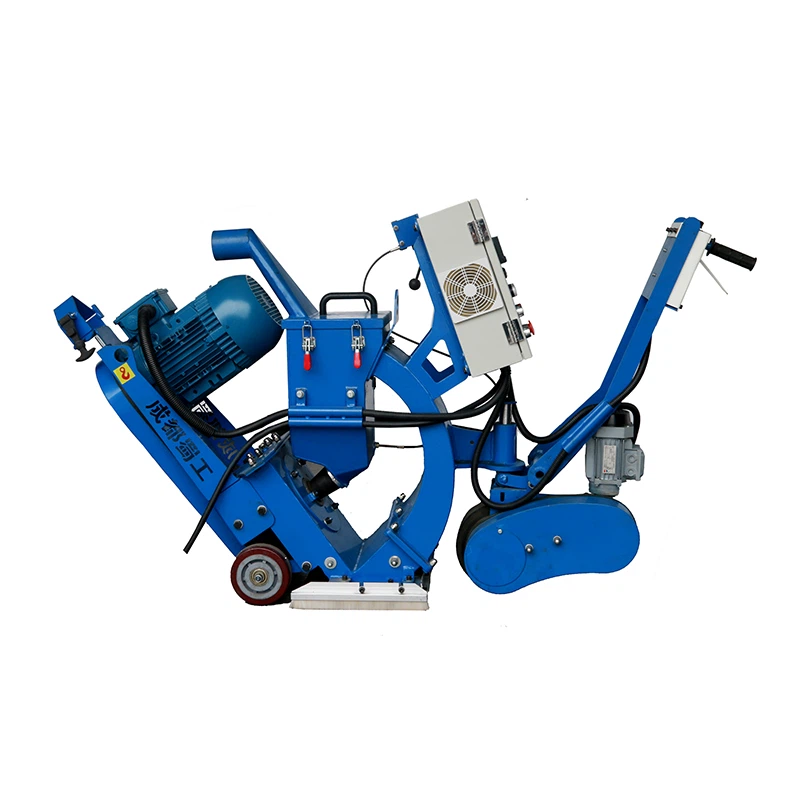
As a supplier of Garage Shot Blasters, we offer a range of high-quality machines that are perfect for blasting plastic parts without causing damage. Our machines are designed with adjustable pressure settings, so you can easily control the blasting force to suit your specific needs.
We also offer a variety of blasting media options, including plastic media and walnut shells, to ensure that you have the right media for the job. And if you're not sure which media or machine is best for your plastic parts, our friendly and knowledgeable customer service team is always here to help.
Check out our 24 Month Warranty CE/SGS Certificate Mark Line Shot Blasting Equipment, Concrete Blasting Equipment, and Shot Blasting Machine for Flooring for more information on our products.
Conclusion
Blasting plastic parts without causing damage requires a careful and controlled approach. By understanding your plastic parts, choosing the right blasting media, adjusting the blasting pressure and distance, using a masking technique, and testing on a small area first, you can achieve great results without ruining your parts.
If you're in the market for a garage shot blaster or need help choosing the right blasting media for your plastic parts, don't hesitate to contact us. We're here to help you get the job done right and ensure that you're completely satisfied with your purchase.
References
- "Shot Blasting Basics," American Shot Peening Association
- "Plastic Media Blasting," Finishing Systems Inc.
- "Walnut Shell Blasting," Environmental Blasting Technologies


